

Outbound DLP (Data Loss Prevention) rules allow you to detect and prevent sensitive information from leaving an organization. Emails sent from a customer environment are scanned for content you have specified in this
You must configure our Outbound Smarthost and use Mesh Gateway or Mesh Unified to utilize Outbound DLP rules. Find out more here: Outbound Smarthost
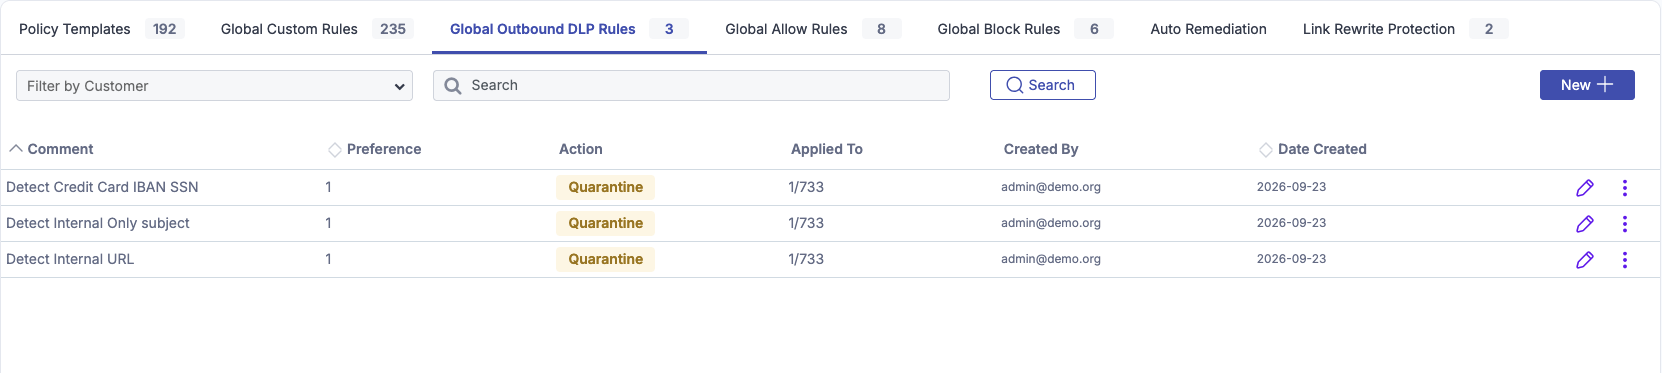
Criteria, Actions, and Applying Outbound DLP Rules
Rules can be created using the following criteria:
-
Subject
-
URLs
-
Headers
-
Attachment types
-
Body Rules
-
DLP Pattern Match
DLP Rules actions are as follows:
-
Quarantine
-
Delete
DLP Rules Can Be Applied:
-
Globally - Can be created from the partner level for all or selected customers.
-
Organizationally - Can be created for a specific customer.
-
Domain - Can be created for a specific domain.
-
Users - Can be created for specific users or mailboxes.
Create an Outbound DLP Rule
Step 1: Click New
Navigate to the Policy page, click on Outbound DLP Rule, and then select New+.
Step 2a: Select Customers to Whom the Rule Will Apply (Partner View)
When "Select All Customers" is enabled, the rule will select all existing customers or manually select the specific customers you want the rule to apply to.
Step 2b: Select Organization/Domain/User To Whom The Rule Will Apply (Customer view)
Select if you are applying the rule to the “Organization”, “Domain”, or a particular “User”.
Step 3: Select The Rule Options
For each section, one or more entries are allowed, and each section must have at least one match in the message for the rule to trigger.
Important: Each section in a rule functions as an AND statement, however, entries within an option function functions as an OR statement.
For example, a rule with one subject line, two URL entries, and two subject entries specified, will require the message to contain at least one match from each entry to trigger the rule.
Subject
An exact match is required, unless using the wildcard symbol *.

For example: The above rule will trigger on any subject lines starting with “Internal Only" OR “Internal Doc".
Body Rules
Define keywords/strings that, if found in the message body, will trigger the rule. It is possible to add one or more entries. Required to be a exact match unless using the wildcard symbol “*” which will allow for additional characters if inserted on the left, right or both sides of the entry. Each entry acts as a unique rule.

For example: The above rule will trigger on any emails containing the word “password" or “api key"
DLP Pattern Match
DLP Pattern Match can help identify common patterns and flag messages associated with sensitive data. The current categories are Credit Card numbers, IBANs, or Social Security numbers (SSNs).
-
Credit Card Numbers
Matches industry-standard formats, e.g.5555-5555-5555-4444, 4111111111111111. -
IBANs
Matches valid IBAN formats (country-specific variations are supported). -
Social Security Numbers (SSNs)
Matches the standard U.S. SSN format (111-22-3333) as well as variations without separators (e.g.111223333).

URL
Wildcard entries are allowed in the form of *.tld or *.name.tld. You can also use a wildcard at the end of a full address. If HTTP/HTTPS protocol is not specified in URL then both will be covered by the entry.
example.com
*.example.com
https://example.com/contact-us
https://example.com/*
Headers
Used to identify specific email headers.

Attachment Type
Used to check for specific attachments. Entries should exclude the leading dot, e.g. zip.

Step 3: Actions
Decide the action applied to the email.
-
Delete
-
Quarantine
If an email has the Delete action it CANNOT be recovered.
Step 4: Preference
The preference controls when the rule is triggered if there are other custom rules you would like to process first. In most cases, 1 will be the most appropriate.
Step 5: Comment
Text field to describe the rule and make searching in the future easier.
Step 6: Submit
Click Submit to save settings. The table will now be updated with the created rule.