

This guide outlines how to install Mesh 365 for organizations on Microsoft 365, where their mx records point to Microsoft or to a third party email gateway.
🕐 Installation Time: Less than 2 minutes
Tip: If this is your first time setting up a customer in Mesh (or even if it’s not), it is worthwhile familiarizing yourself with this checklist ⟶ Before You Start Checklist
Step 1: Click edit on the customer account on the Customers page
After you’ve completed the order form, click on the edit icon to the right of the customer’s name.

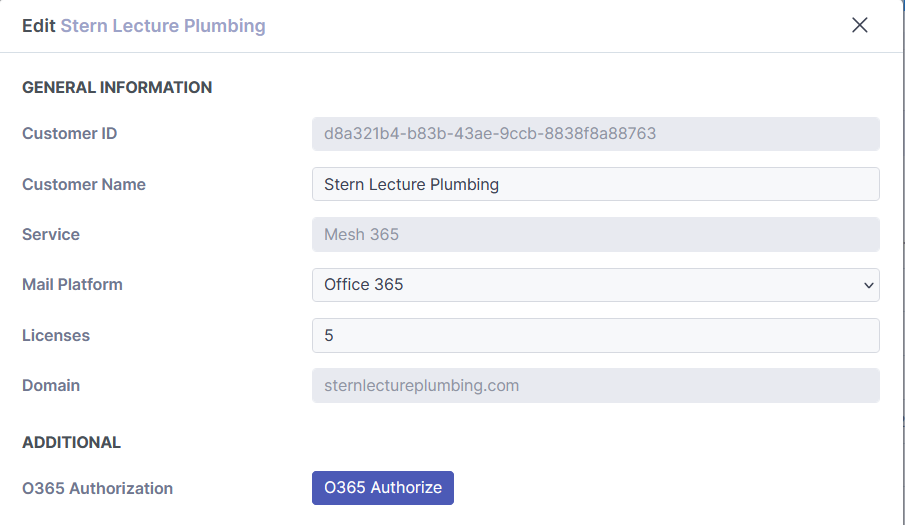
Step 2: Click Authorize
Select "O365 Authorize" to permit Mesh to connect to your Microsoft 365 tenant. This will take you to the Microsoft 365 login page.
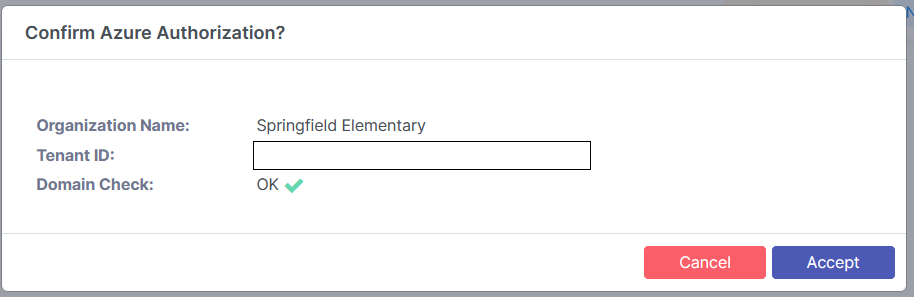
Once logged in, you need to accept the permissions. This will take you back to your Mesh MSP portal where you need to click accept again.
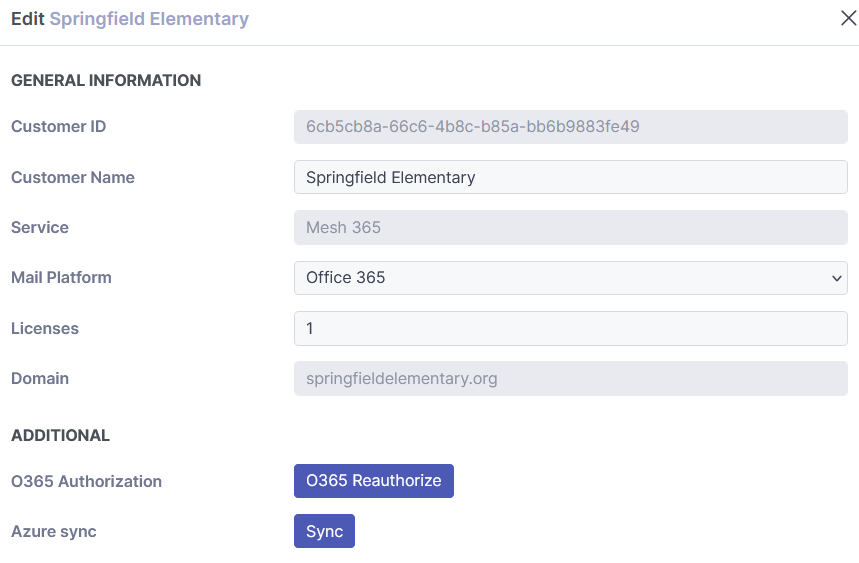
Step 3: Click Sync to Populate Mailboxes
Clicking on the Azure Sync will populate all mailboxes in Mesh.
If using Mesh 365 Monitor Mode, setup is complete.
If using Mesh 365 Protect Mode, proceed to step 4.
More info about modes can be found here: https://docs.emailsecurity.app/help-center/monitor-mode-mesh-365-only
Step 4: Create a Mail Flow for Rule for Mesh in Microsoft 365
This step is required if you have any of the customer policy options set to “Quarantine in Mesh” and is in Protect Mode.
To ensure Mesh quarantine digests generated by our servers and any emails released from the Mesh quarantine are delivered without additional filtering by Microsoft, you need to create a mail flow rule in Microsoft 365 for our IP ranges.
This video walks you through the process step by step:
-
Ensure that the IP ranges applicable to your region are used. You can find this here.
-
View our step by step guide on creating a mail flow rule.
-
Visit Microsoft’s documentation on this here.
Important: If you are moving from another Secure Email Gateway, you will likely have an existing connector in place to reject emails that aren't sent from a specific IP range.
You will need to either remove or modify this before to prevent emails generated by Mesh (digests/release requests) from being rejected.
Step 5: Configure Report Junk & Phishing Button (Optional)
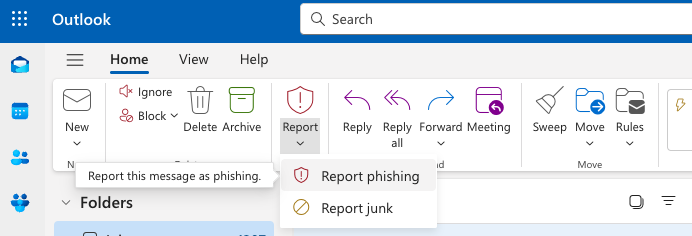
The Outlook report button can be utilised to share potential false negatives / false positives with your helpdesk and the Mesh detection team. View our step-by-step guide.
You’re all set. Your email is now being protected by Mesh 365.