Configuring Two Factor Authentication
Two Factor Authentication (2FA) is enabled by default. Upon login, all users using Mesh credentials will be forced to configure 2FA via an authenticator app. This guide will also explain how to reset 2FA for users or team members.
If using SSO via Azure, 2FA checks will performed by Microsoft as per your Entra ID policy.
Configuring Two Factor Authentication
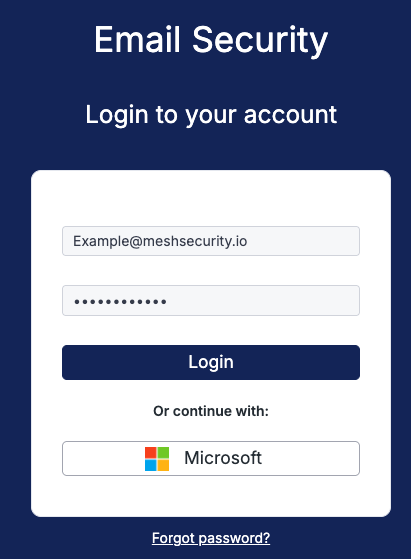
Step 1: Login to your account

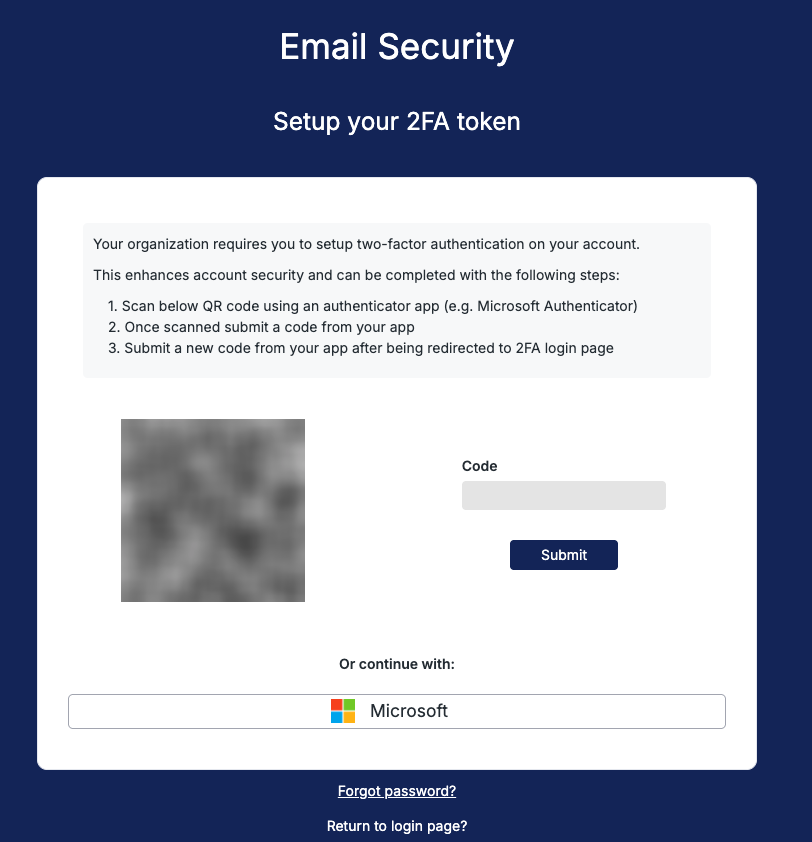
Step 2: Setup your 2FA token
You will be prompted to scan a QR code using an authenticator app. Once configured, submit your 2FA code.

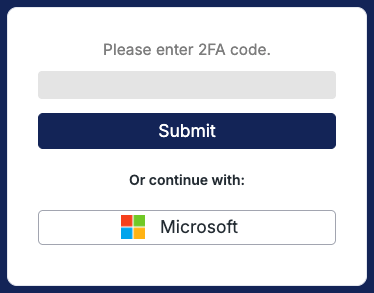
You will now be prompted to enter the 2FA code when attempting to login using local credentials.

Reset 2FA Tokens
2FA tokens can be reset by partners/administrators.
Step 1: Navigate to the Team Members or Users Page
Click the Team Members or Users page.
Step 2: Click the pencil icon
Click the pencil icon of the mailbox you want to edit.
Step 3: Click Clear 2FA Devices
Upon login, the user will be prompted to set up 2FA.

