

For customers not using the Azure Sync, mailboxes can be populated using our CSV template.
You must be logged in as that customer in Mesh.
Step 1: Navigate to the "Users" page.
Once logged in, navigate to the "Users" page.
Step 2: Select "Import & Sync"
Select the "Import & Sync" tab.
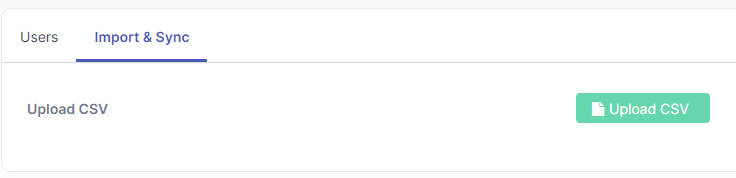
Step 3: CSV Upload Page
Click the "Upload CSV" icon. A popup window will appear. An example CSV can be downloaded by clicking the blue "here".
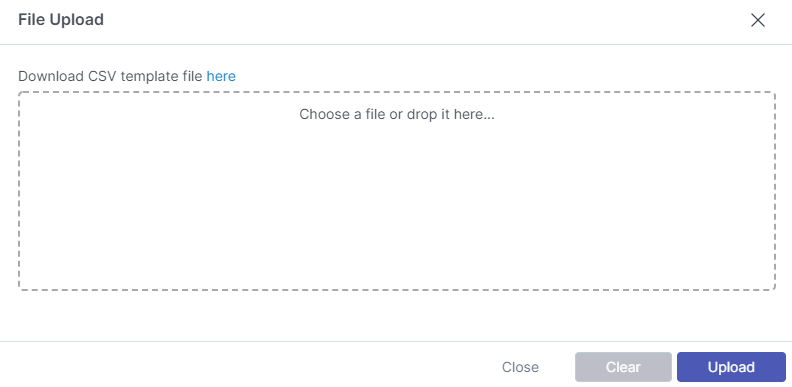
Step 4: Select file and Upload
Click the "Chose a file" or drag a CSV file onto the box and select upload.
Formatting Instructions:
-
Use the “|” operator to include multiple aliases.
-
Ensure that alias domains are registered within the Mesh portal. You will not be able to upload a domain that is not registered.
-
Keep the file size under 2000 rows. If you need to upload 2000+ users, creating multiple files is recommended.
-
If your upload is failing, check your CSV to ensure that it is following the correct format (see table below as a guide)
|
firstname |
lastname |
|
email alias |
role |
vip |
|---|---|---|---|---|---|
|
Joe |
Bloggs |
ceojoebloggs@example.com |
joebloggs@example.com|john@example.net |
Administrator |
TRUE |
|
John |
Smith |
johnsmith@example.com |
jsmith@example.com |
User |
FALSE |
|
Support |
Address |
support@example.com |
|
Functional Address |
FALSE |
If you are unsure of the role types, they are explained here.