This guide outlines how to enable Outbound Scanning from the customer portal.
This is only available for Mesh Gateway and Mesh Unified customers.
Outbound Setup
Step 1: Customers page
Navigate to the “Customers” page in the navigation bar.
Step 2: Login as
Select the “Login as” button for the customer you wish to setup.
Step 3: Outbound Smarthost
Once logged in, select the “Settings” page in the nav bar and open the “Outbound Smarthost” tab.
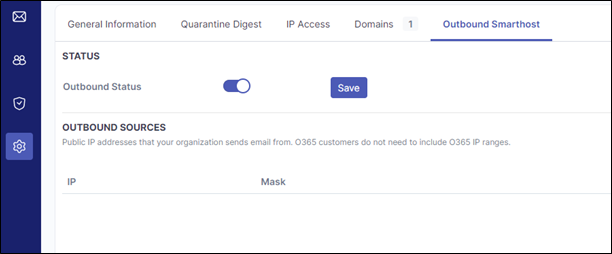
Step 4: Enable Slider
Enable the Outbound Status slider and click save.
Once enabled, it may take up to 15 minutes for the domain to be fully activate. It is recommended to wait this length of time before sending emails outbound to avoid any delivery issues.
Step 5a: O365
If you are using O365, you can move onto setting up your SPF records and Outbound connector.
Step 5b: Exchange/On-premise
If you are using Exchange or another service, please enter the public IP addresses the organisation will send emails from.
Step 6: SPF Records
Update SPF records to include the following depending on your region:
|
Service Region |
SPF Record |
|---|---|
|
Europe |
include:spf1.emailsecurity.app |
|
United States |
include:spf1.emailsecurity.app |
This step is different per domain provider so you will need to consult their documentation if you require additional help.
For information about DKIM, please see below.
Step 7: Connector Setup
If using O365 or Exchange, please consult our O365/Exchange Outbound setup guide.
Configure Outbound Filtering for Mesh in Office 365/Exchange Admin
If using O365 or Exchange with Exclaimer, please consult our O365/Exchange Outbound setup guide.
Configure Outbound Filtering for Mesh in Office 365/Exchange Admin with Exclaimer
If you are using Google Workspace, please consult our Google Workspace Outbound setup guide.
Optional Outbound Settings
These are optional settings that you can use depending on your domain’s setup. You may not need to use them but they provide extra flexibility if required.
Outbound Sources
The outbound sources feature allows you to specify a public IP addresses that your organization sends email from. This can be useful if they are using third party tools to send messages.
O365 customers do not need to include O365 IP ranges. This is done automatically.
If using a third party software, connections to the smarthost should use port 25 with no authentication. You can find your region specific smarthost here: https://docs.emailsecurity.app/help-center/connection-details


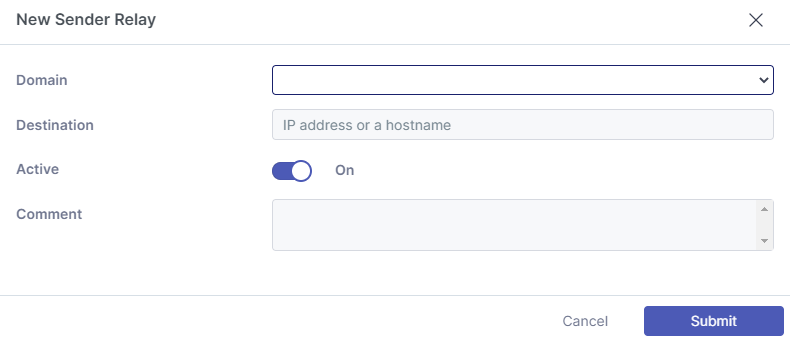
Sender Relay
The Sender Relay option allows sending domains to be forwarded to a 3rd party destination for further relay. For example, a branding product or encryption service.
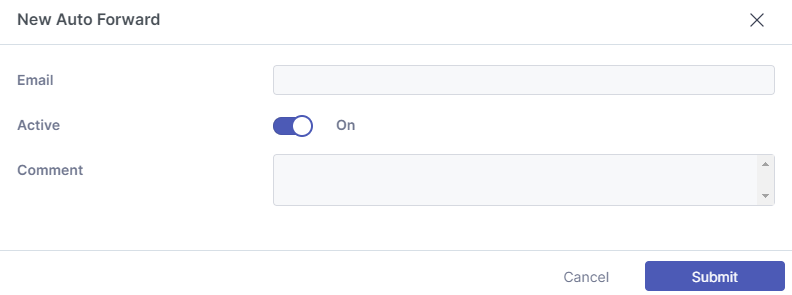
Auto Forward
An “Auto Forward” rule allows outbound email that has been sent via an auto forwarding rule on your mail host without the need for a rewrite. This is required because the sending domain will typically not be your own domain. Emails can retain the original envelope address rather than a typical forwarding path which would require an additional user at your domain.
By specifying the destination address, we allow you to make an exception. The reason for using the recipient address rather than the sending address is because it is common for a sending address to be random.
If an email has originated from Microsoft’s high risk delivery pool, traffic will NOT be accepted by our smarthost and a NDR will be generated. More information about Microsoft’s high risk delivery pool can be found here: https://learn.microsoft.com/en-us/microsoft-365/security/office-365-security/outbound-spam-high-risk-delivery-pool-about?view=o365-worldwide#relay-pool.
If this is occurring for an autoforward, we recommend creating a mailflow rule to bypass our smarthost.
DKIM Keys
DomainKeys Identified Mail (DKIM) is an email authentication protocol that verifies the integrity of the message via the use of a digital signature. This ensures that a man-in-the-middle attack (MITM) has not taken place and that the email contents have not been modified by some other means while in transit.
This step is not mandatory and we do not invalidate DKIM signatures created by other platforms/tools. If using Microsoft 365, we typically recommend following this guide:
Step 1: Navigate to DKIM Keys.
Navigate to the DKIM Keys tab on the Outbound Smarthost page.
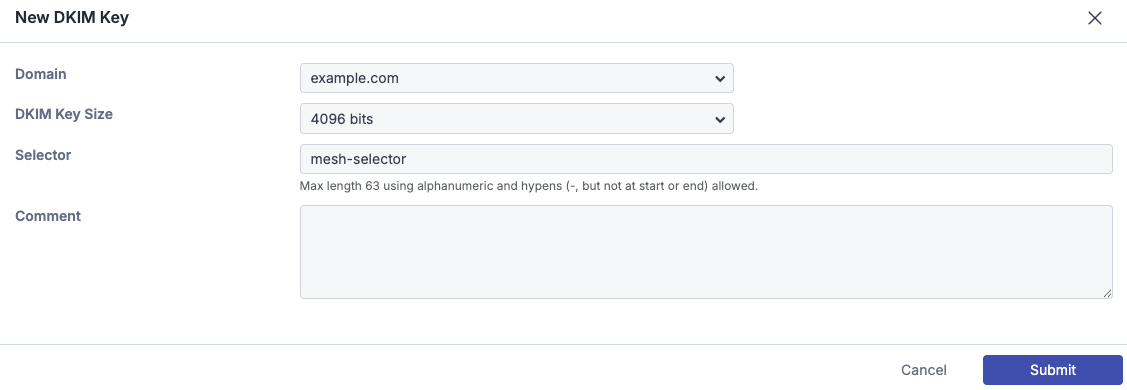
Step 2: Select Domain
Select the domain you want to use.
Step 3: Select Key Size
Select the bit size of the key you want to use. 2048 and 4096 are supported.
Step 4: Give the Selector a Name
Give the selector a name. The selector is a name given to the key itself and will appear in email headers. This selector advises what TXT record should be checked when validating the key.
Step 5: Add a comment (optional)
Add a comment if required.
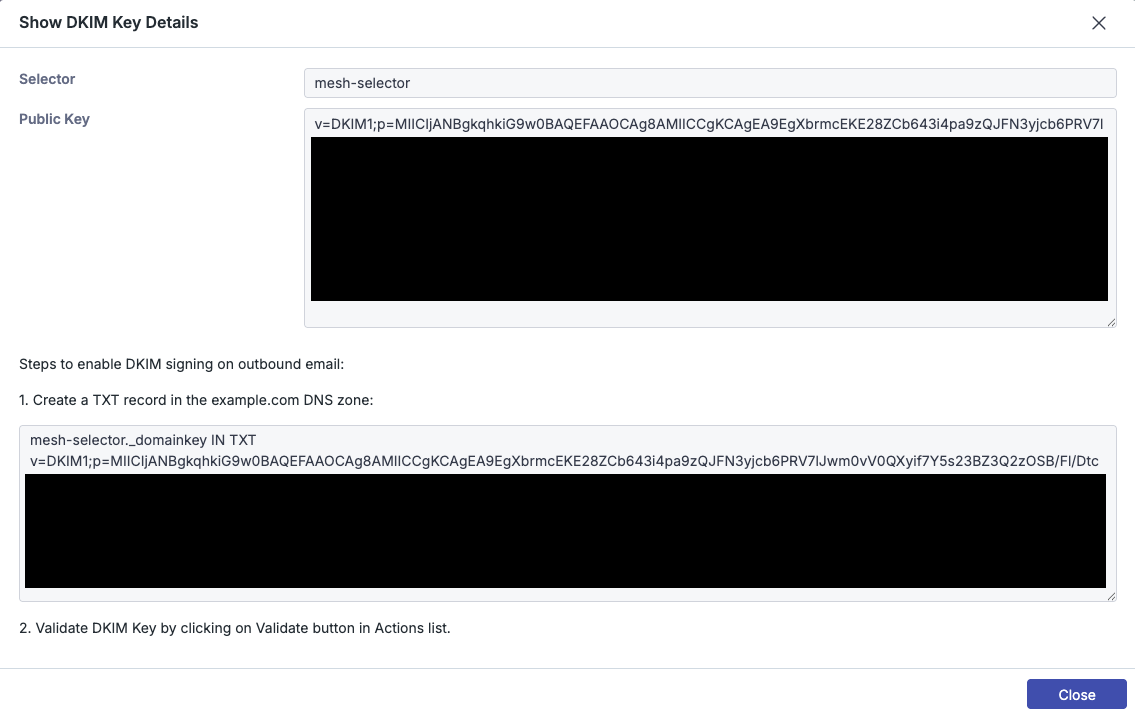
Step 6: Create a TXT record
Create a TXT record with your DNS provider for the domain you previously selected.
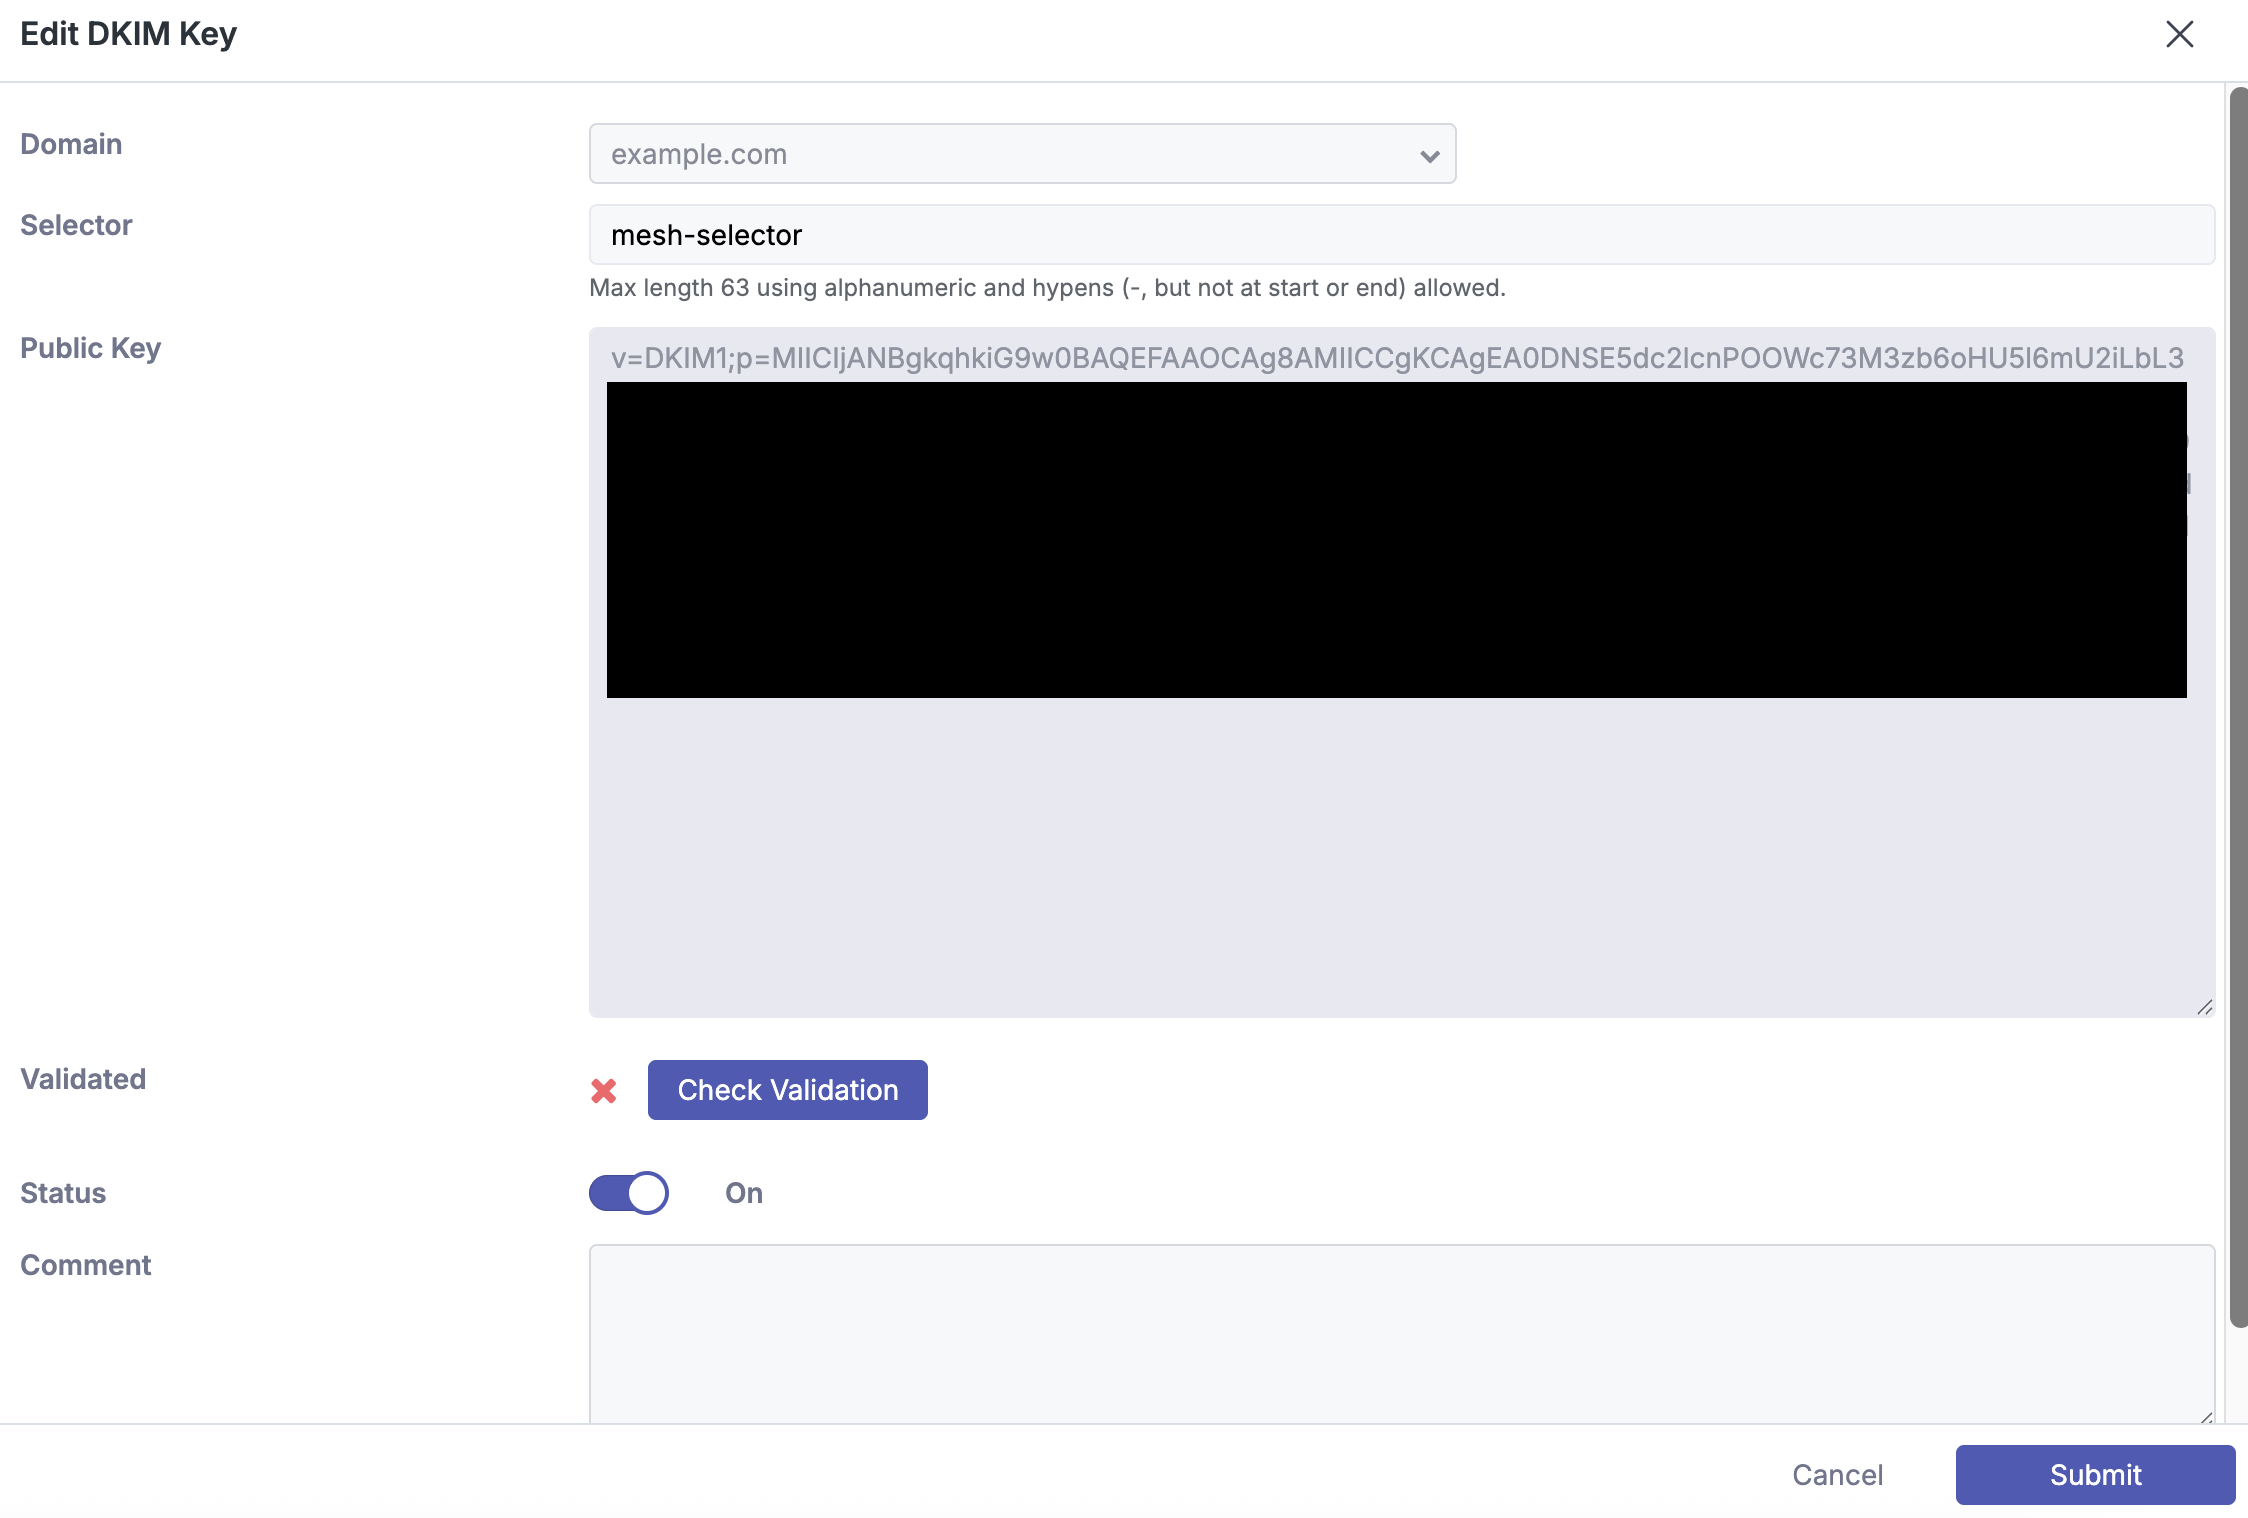
Step 7: Edit DKIM Key
Click the pencil icon to edit the DKIM key and click “Check Validation” to verify it has been configured correctly. Once verified, it can be used.
You’re all set